Forgive me father readers for I have sinned; it has been two months since my last post. Oh dear. Moving house in the middle of an already busy summer has left me with very little time for attempting new recipes, despite the fact that I have a very nice new kitchen that is crying out to be used. However, I will soon be on enforced home stay thanks to the Olympics and the official* advice to stock up with water and canned goods, barricade the doors, and stay away from the streets and all forms of public transport for the next three weeks.
The upside of this is that it should give me more time for experimentation in the kitchen, so I will hopefully get back into a more consistent blogging routine soon. To start off, here's a recipe I tried recently that I can tell will become part of my regular repertoire. Easy, not too time intensive (10-15 minutes to prepare, 45 minutes to cook), and absolutely delicious both warm and reheated. It works equally well as a side or a main dish, and could be adapted for vegetarians by omitting the bacon (although I must say, one of the two reasons I could never be a vegetarian is my love for bacon. The other would be my love of a really good steak). So without further ado:
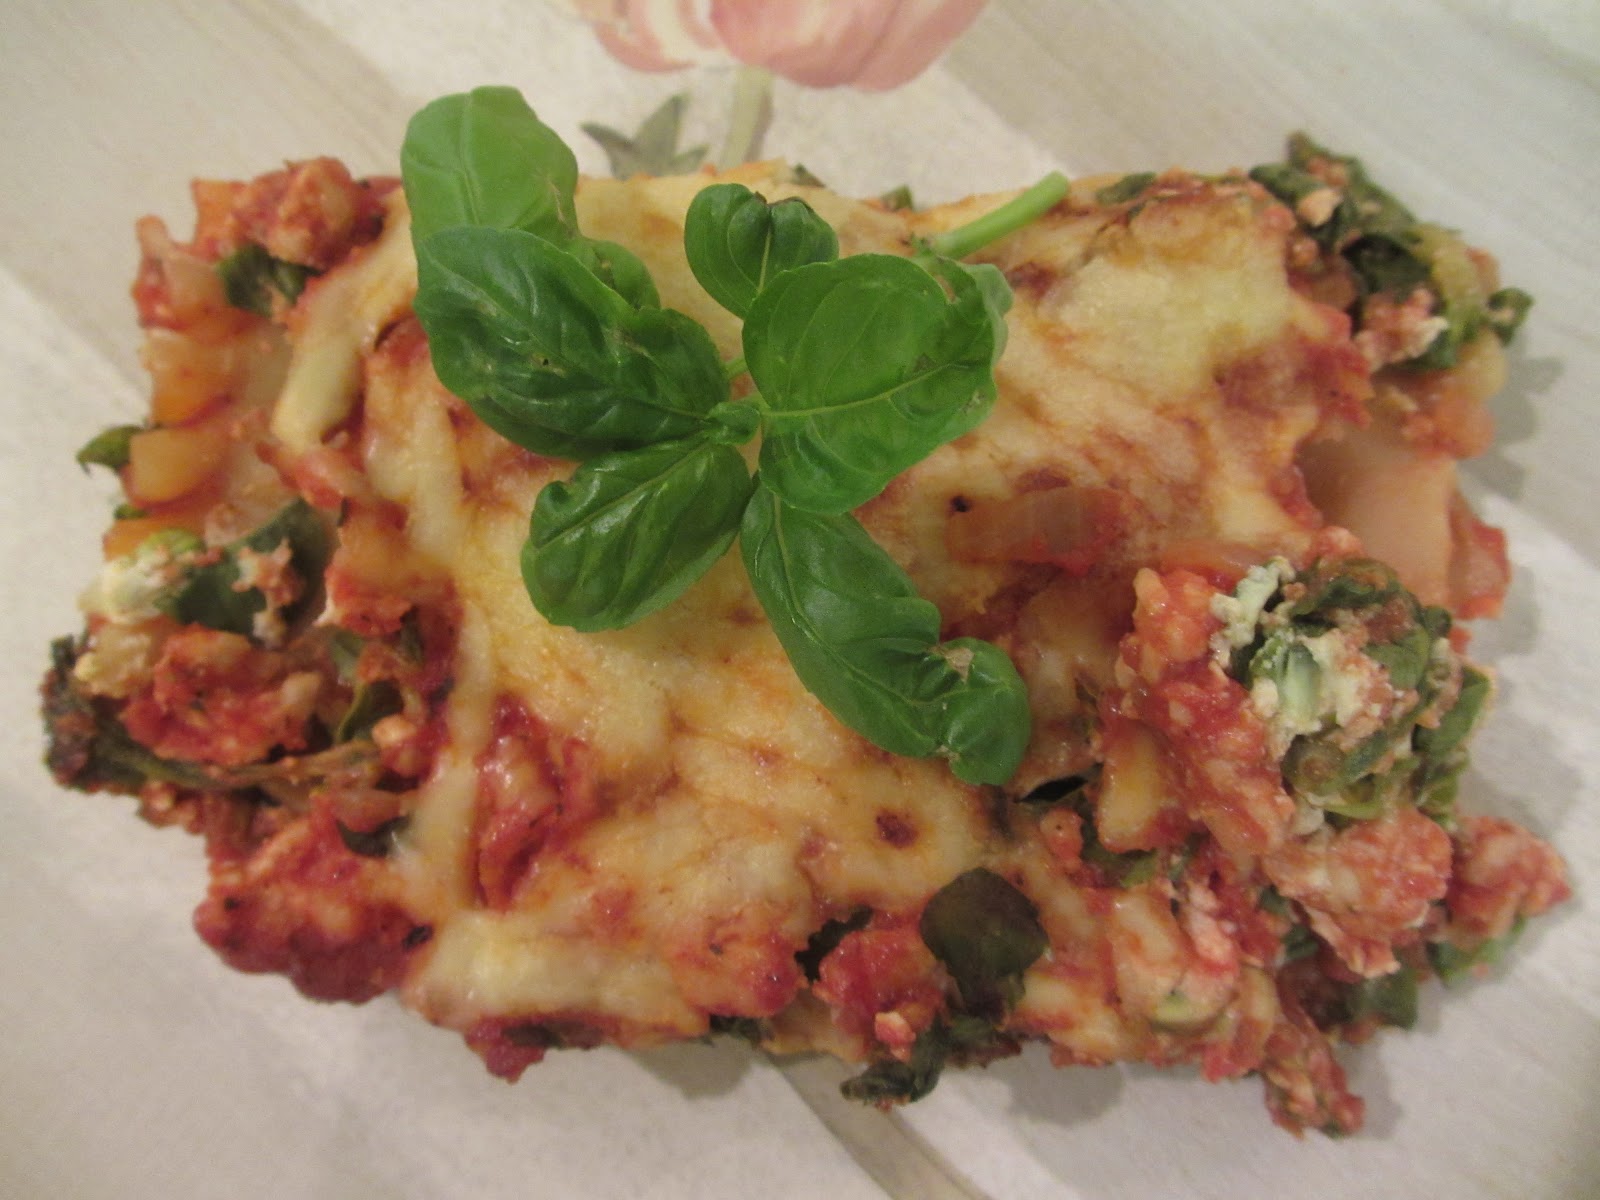
Bacon and ricotta cake with roasted tomatoes
(adapted from Waitrose Recipes)
For the cake:
For the tomatoes:
Before you start, preheat the oven to 180°C (gas mark 4) and grease and line a 900g loaf tin with baking parchment.
 Place the potatoes in a pan, cover with cold water and bring to the
boil. Simmer for 10-15 minutes until tender. Drain and allow to cool
slightly, then grate coarsely. While the potato is cooking, place the spinach in a pan, splash with a little water and
cook over a medium heat for 1-2 minutes, or until just wilted
(microwaving in the bag works equally well - just follow the instructions on the pack). Drain and cool in a colander, then squeeze out any excess liquid
and chop roughly. Crush the bacon into a bowl and mix in the spinach, potato,
Parmigiano-Reggiano, ricotta and eggs. Season with pepper. Tip the
mixture into the loaf tin. Cook for 25 minutes.
Place the potatoes in a pan, cover with cold water and bring to the
boil. Simmer for 10-15 minutes until tender. Drain and allow to cool
slightly, then grate coarsely. While the potato is cooking, place the spinach in a pan, splash with a little water and
cook over a medium heat for 1-2 minutes, or until just wilted
(microwaving in the bag works equally well - just follow the instructions on the pack). Drain and cool in a colander, then squeeze out any excess liquid
and chop roughly. Crush the bacon into a bowl and mix in the spinach, potato,
Parmigiano-Reggiano, ricotta and eggs. Season with pepper. Tip the
mixture into the loaf tin. Cook for 25 minutes.
 While the cake mixture is in the oven, chop the cherry tomatoes in half and place in a roasting
tin, cut side up. Drizzle with oil and sprinkle with the sugar, thyme or
oregano and season. After the cake has had 25 minutes, put the tomatoes on a lower oven shelf, beneath the cake, and continue
to cook for about 10-15 minutes until the cake is just firm to the
touch and the tomatoes are cooked.
While the cake mixture is in the oven, chop the cherry tomatoes in half and place in a roasting
tin, cut side up. Drizzle with oil and sprinkle with the sugar, thyme or
oregano and season. After the cake has had 25 minutes, put the tomatoes on a lower oven shelf, beneath the cake, and continue
to cook for about 10-15 minutes until the cake is just firm to the
touch and the tomatoes are cooked.
Leave the cake to cool slightly in the tin, then turn out while still warm. Drizzle the tomatoes with balsamic vinegar and serve with slices of warm cake. Et bon appetit!
*This may not have been the message that LOCOG and Transport for London have been trying to convey, but everything they have said thus far has had that effect!
The upside of this is that it should give me more time for experimentation in the kitchen, so I will hopefully get back into a more consistent blogging routine soon. To start off, here's a recipe I tried recently that I can tell will become part of my regular repertoire. Easy, not too time intensive (10-15 minutes to prepare, 45 minutes to cook), and absolutely delicious both warm and reheated. It works equally well as a side or a main dish, and could be adapted for vegetarians by omitting the bacon (although I must say, one of the two reasons I could never be a vegetarian is my love for bacon. The other would be my love of a really good steak). So without further ado:
Bacon and ricotta cake with roasted tomatoes
(adapted from Waitrose Recipes)
For the cake:
- 1 medium potato, peeled and quartered
- 225g bag baby spinach
- 1 or 2 40g packs crispy smoked bacon (the original recipe calls for 4 packs, but I only used one and that seemed to work just fine, so I would recommend reducing that)
- 4 tbsp Parmigiano-Reggiano, grated
- 250g ricotta cheese (the recipe called for 500g, but again, I used half that with no adverse effects)
- 2 large (or 3 medium) eggs

For the tomatoes:
- 300g cherry tomatoes, halved
- 4 tbsp olive oil
- 1 tsp caster sugar
- fresh thyme or oregano
- 2 tbsp balsamic vinegar
Before you start, preheat the oven to 180°C (gas mark 4) and grease and line a 900g loaf tin with baking parchment.
 Place the potatoes in a pan, cover with cold water and bring to the
boil. Simmer for 10-15 minutes until tender. Drain and allow to cool
slightly, then grate coarsely. While the potato is cooking, place the spinach in a pan, splash with a little water and
cook over a medium heat for 1-2 minutes, or until just wilted
(microwaving in the bag works equally well - just follow the instructions on the pack). Drain and cool in a colander, then squeeze out any excess liquid
and chop roughly. Crush the bacon into a bowl and mix in the spinach, potato,
Parmigiano-Reggiano, ricotta and eggs. Season with pepper. Tip the
mixture into the loaf tin. Cook for 25 minutes.
Place the potatoes in a pan, cover with cold water and bring to the
boil. Simmer for 10-15 minutes until tender. Drain and allow to cool
slightly, then grate coarsely. While the potato is cooking, place the spinach in a pan, splash with a little water and
cook over a medium heat for 1-2 minutes, or until just wilted
(microwaving in the bag works equally well - just follow the instructions on the pack). Drain and cool in a colander, then squeeze out any excess liquid
and chop roughly. Crush the bacon into a bowl and mix in the spinach, potato,
Parmigiano-Reggiano, ricotta and eggs. Season with pepper. Tip the
mixture into the loaf tin. Cook for 25 minutes. While the cake mixture is in the oven, chop the cherry tomatoes in half and place in a roasting
tin, cut side up. Drizzle with oil and sprinkle with the sugar, thyme or
oregano and season. After the cake has had 25 minutes, put the tomatoes on a lower oven shelf, beneath the cake, and continue
to cook for about 10-15 minutes until the cake is just firm to the
touch and the tomatoes are cooked.
While the cake mixture is in the oven, chop the cherry tomatoes in half and place in a roasting
tin, cut side up. Drizzle with oil and sprinkle with the sugar, thyme or
oregano and season. After the cake has had 25 minutes, put the tomatoes on a lower oven shelf, beneath the cake, and continue
to cook for about 10-15 minutes until the cake is just firm to the
touch and the tomatoes are cooked.Leave the cake to cool slightly in the tin, then turn out while still warm. Drizzle the tomatoes with balsamic vinegar and serve with slices of warm cake. Et bon appetit!
*This may not have been the message that LOCOG and Transport for London have been trying to convey, but everything they have said thus far has had that effect!